How to Use Midjourney's Style Tuner: Create Your Unique AI Aesthetic
One of the most powerful—and perhaps most overlooked—features in Midjourney is the Style Tuner. If you've ever felt that your Midjourney images have a certain "look" that you can't quite escape, the Style Tuner is your key to breaking free and developing a truly unique, personal aesthetic.
So, what exactly is it? In simple terms, the Style Tuner is a tool that lets you create your own custom style code. Instead of relying on Midjourney's default aesthetic, you can fine-tune its artistic direction to match your personal taste. Let's walk through how to use it.
Step 1: Accessing the Style Tuner
The Style Tuner is not a setting, but a command. To begin, you'll use the /tune command in Discord. This command requires a base prompt that will be used to generate the style samples.
Your base prompt should be relatively simple but descriptive. Good examples include:
/tune prompt: a girl in a flower field/tune prompt: futuristic cityscape/tune prompt: portrait of an old man
Avoid overly complex prompts here. The goal is to tune the style, not the subject matter.
Step 2: Configuring Your Tuner
After you enter the command, Midjourney will ask you to configure your tuner. You'll have two main options:
- Style Directions: This determines how many pairs of images you'll be shown to choose from. The options are typically 16, 32, 64, or 128. More directions give you more nuanced control but take longer to generate and rate. For your first time, 32 is a great starting point.
- Mode: You can choose between Default and Raw mode. For most users, Default mode is recommended as it leverages Midjourney's default aesthetic improvements.
After configuring, submit the job. Midjourney will use your credits to generate the image pairs. This can take a few minutes.
Step 3: The Tuning Process - Choosing Your Style
Once your Style Tuner is ready, Midjourney will provide you with a unique URL. Open this link in your browser. You will be presented with a grid of image pairs. Your task is simple but crucial: for each pair, click on the image that you feel best represents the style you want to achieve.
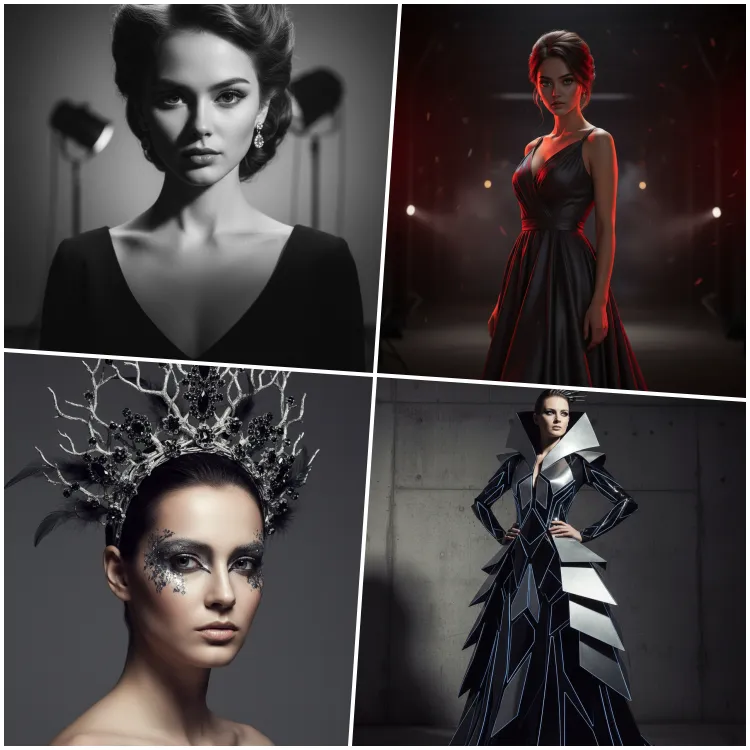
Don't overthink it! Go with your gut instinct. Are you drawn to more photographic or illustrative styles? High contrast or soft colors? Realistic or abstract? As you make your selections, you are actively teaching Midjourney about your personal aesthetic preferences.
Step 4: Getting and Using Your Style Code
At the top of the Style Tuner page, you will see a generated prompt that looks something like this:
a girl in a flower field --style 1a2B3c4D5eThat --style 1a2B3c4D5e part is your new, personalized style code! This code encapsulates all the choices you just made. Now, you can copy this code and apply it to any future prompt to give it your unique aesthetic.
For example:
a majestic lion --style 1a2B3c4D5ea spaceship landing on a desert planet, cinematic --style 1a2B3c4D5e
You can create and save multiple style codes for different aesthetics—one for cinematic portraits, another for whimsical illustrations, and so on.
Why This Changes Everything
The Style Tuner elevates you from being a prompt user to a style creator. It's the closest you can get to training your own personal AI model within Midjourney. It allows you to build a consistent and recognizable portfolio of work that stands out from the crowd.
Ready to find your unique voice in the world of AI art? The best way to start is by exploring different aesthetics. Browse the diverse styles in our premium prompt packs to get inspired, then use the Style Tuner to create a code that brings your personal vision to life.